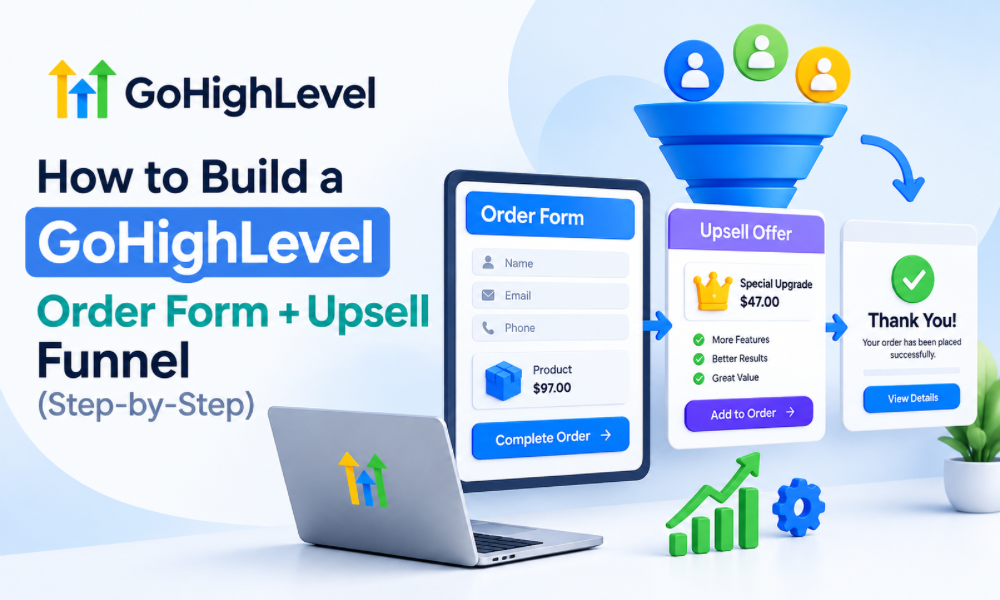
A well-designed order form funnel should make purchasing easy while creating a natural opportunity for customers to consider an additional product or service. Instead of treating checkout as the final destination, businesses can use GoHighLevel to connect the initial purchase, upsell, follow-up, onboarding, and customer communication into one continuous journey.
The technical setup is only part of the process. A funnel can have attractive pages and sophisticated automation but still perform poorly if the offer is unclear, the checkout is complicated, or the upsell does not make sense to the buyer.
GoHighLevel provides the tools to create this entire journey, but those tools need to be organized around the customer experience. The following step-by-step process explains how to structure an order form and upsell funnel, connect the automation, test the workflow, and improve it after launch.
What Is a GoHighLevel Order Form and Upsell Funnel?
An order form funnel takes a prospect from an offer to a completed transaction. After the initial purchase, the buyer can be presented with another relevant offer that complements what they have already purchased.
A typical journey can look like:
Sales Page → Order Form → Purchase → Upsell → Optional Downsell → Confirmation → Onboarding
The exact structure depends on the business model. A course creator may sell a training program followed by coaching. A service company might sell an initial consultation followed by implementation. An agency could offer a starter package followed by a premium service.
The important point is that the upsell should logically follow the original purchase.
Step 1: Define Your Core Product Before Building the Funnel
Start by clearly defining what the customer is purchasing.
Determine the product or service name, price, billing frequency, fulfillment process, refund conditions, and customer expectations.
If the primary product is a recurring subscription, the order form needs to communicate that clearly. If it is a one-time purchase, the customer should understand that as well.
Businesses working with a GHL automation specialist should establish these details before building workflows because the automation will eventually depend on the specific product purchased.
The clearer the primary offer is, the easier it becomes to design the checkout and upsell around it.
Step 2: Choose an Upsell That Naturally Complements the Main Offer
The upsell should answer the question, “What would make this purchase more useful?”
Suppose someone purchases a basic marketing package. An appropriate upsell might be implementation support or ongoing optimization. If someone purchases an online training program, a coaching package could be a logical next step.
The additional offer should not feel randomly inserted into the funnel.
When you hire GoHighLevel consultant support for funnel planning, one of the important areas to discuss is the relationship between the main offer and the upsell. A consultant can help map the customer journey so the additional offer appears at a logical point rather than simply being added because the platform allows it.
Step 3: Map the Entire Customer Journey
Before creating pages, write down every step the customer will experience.
Start with the offer page and move through the order form, payment, upsell, decline path, confirmation, and onboarding.
Then map what happens behind the scenes.
Which workflow starts after purchase? Which tag is applied? Does the customer enter a CRM pipeline? Does the sales team receive a notification? Does an onboarding email go out immediately?
A GoHighLevel expert team can be particularly helpful when these backend actions involve several connected workflows because the customer-facing funnel and CRM automation need to work together.
Step 4: Create the Funnel in GoHighLevel
Open the funnel builder and create the main funnel structure.
Give every step a descriptive name. Instead of leaving pages with generic labels, use names such as “Core Offer,” “Checkout,” “Upsell,” “Downsell,” and “Confirmation.”
This may seem like a small administrative detail, but it becomes important when an account contains multiple funnels.
A GoHighLevel automation specialist can work much more efficiently when the funnel structure and page names clearly communicate what each step is responsible for.
Step 5: Build the Main Sales Page
The first page should explain the primary offer.
Tell visitors what they are purchasing, what problem it addresses, what is included, and what they should do next.
Avoid turning the page into a collection of unrelated claims.
The objective is to help a qualified prospect understand the offer well enough to make a purchasing decision.
A clear call to action should take the visitor directly toward the order form.
Step 6: Create the Order Form Page
Now create the checkout experience.
The order form should be focused on completing the transaction. Display the product information, price, relevant terms, and required customer fields.
Only collect information that serves a real purpose.
If the customer needs to provide information for fulfillment or onboarding, collect it. Otherwise, unnecessary questions can create friction.
If you hire a GoHighLevel expert to build the funnel, ask them to review every field on the form and explain why it is needed.
A professional setup should prioritize both conversion and clean customer data.
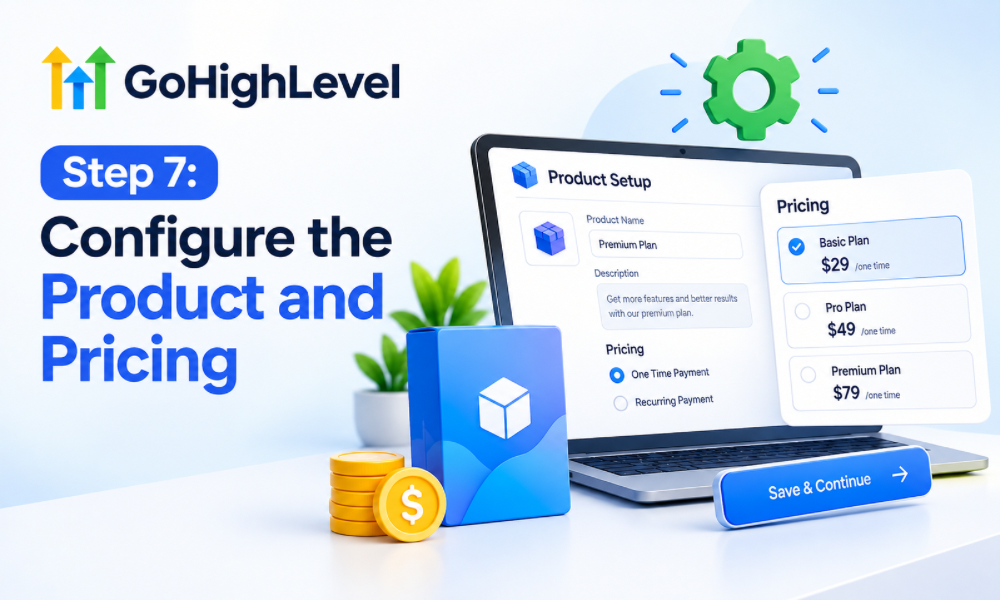
Step 7: Configure the Product and Pricing
Create the relevant product inside GoHighLevel and connect it to the order form.
Verify the price, billing frequency, product description, and any recurring payment settings.
Pay particular attention when the product uses subscription billing.
The amount and billing schedule displayed to the customer should match the actual payment configuration.
A mismatch between the sales page and payment system can create unnecessary customer support issues and undermine trust.
Step 8: Connect the Payment Processor
Connect the appropriate payment system to your GoHighLevel account.
Once connected, test the transaction process before sending real customers through the funnel.
Check whether successful payments are being recorded correctly and whether the associated workflow is triggered.
If you hire GoHighLevel consultant support for the implementation, include payment testing in the project scope rather than treating it as something to check after launch.
Payment problems can affect both revenue and the automation that follows the transaction.
Step 9: Keep the Checkout Page Simple
The checkout page should not feel like another sales presentation.
At this stage, the customer has already decided to purchase. The goal is to make completing the transaction easy.
Use clear headings, readable pricing, simple form fields, and a prominent payment button.
Avoid adding unnecessary navigation that gives the visitor opportunities to leave the checkout.
A GoHighLevel expert team can also review the checkout from a technical perspective to make sure unnecessary scripts, elements, or workflow actions are not creating problems.
Step 10: Add Trust-Building Information
Customers may still have concerns at checkout.
Depending on the offer, you can provide concise information about support, fulfillment, payment security, guarantees, cancellation policies, or what happens after purchase.
The information should be easy to understand.
Do not overwhelm the customer with dozens of badges or lengthy disclaimers that make the checkout look complicated.
The purpose of these elements is to reduce reasonable uncertainty.
Step 11: Build the Upsell Page
After a successful purchase, direct the customer to the upsell page.
The upsell should acknowledge that the customer has already purchased and introduce the additional offer as a logical next step.
Explain what the customer gets, why it is useful, and how it relates to their original purchase.
If the customer purchased a basic package, the upsell could provide additional implementation or support. If they purchased a self-service product, the upsell could provide personalized assistance.
The relationship should be obvious.
Step 12: Make the Upsell Easy to Understand
Do not force the customer to read another extremely long sales page just to understand the additional offer.
Focus on the incremental value.
Explain what the upsell adds to the original purchase and why someone in this situation might want it.
A GHL automation specialist can help connect the acceptance action to the correct product and workflow, but the offer itself still needs to make sense from a customer’s perspective.
Technology cannot compensate for an irrelevant upsell.
Step 13: Create a Clear Acceptance Action
The customer should know exactly what happens when they accept the upsell.
The button should clearly communicate the action, and the price should not be hidden.
If the upsell creates a second charge, make that clear before the customer confirms it.
Transparency is particularly important when the additional offer involves recurring billing.
The objective is to make the customer feel informed rather than pressured.
Step 14: Create a Clear Decline Path
Not everyone will want the upsell.
Create a clear path for customers who decline so they can continue toward confirmation or onboarding.
Do not make the customer click through several additional promotional pages simply because they said no.
A clean decline path protects the customer experience and ensures the original purchase remains intact.
When working with GoHighLevel experts toronto, or any other GoHighLevel provider, ask them to test both the acceptance and rejection paths before the funnel is launched.
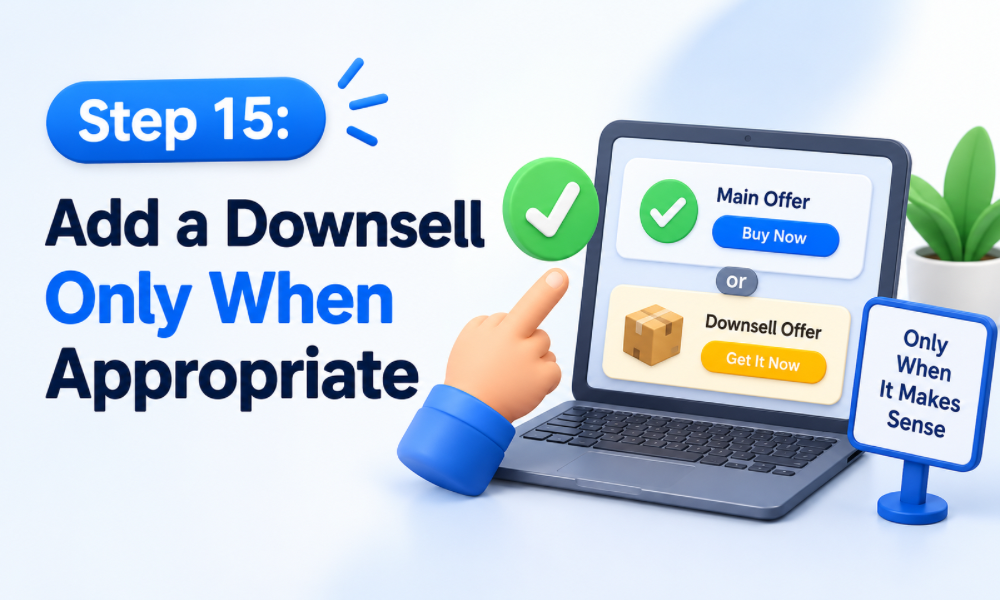
Step 15: Add a Downsell Only When Appropriate
A downsell can be introduced after someone rejects the primary upsell.
For example, a customer might decline a high-priced implementation package but be interested in a smaller self-service package.
The downsell should provide genuine value at a different price or commitment level.
Do not add a downsell automatically.
If the customer has already rejected the additional offer, repeatedly presenting new offers can make the experience frustrating.
Step 16: Build the Confirmation Page
Once the customer’s purchasing journey is complete, send them to a confirmation page.
The page should tell the customer what happens next.
Depending on the product, that could include access instructions, delivery information, appointment details, onboarding requirements, or customer support information.
The confirmation page is also an opportunity to reassure the buyer that their transaction was completed.
Step 17: Create the Post-Purchase Automation
Now connect the purchase event to your GoHighLevel workflows.
A completed transaction can trigger confirmation emails, onboarding sequences, internal notifications, CRM updates, tags, or other actions.
The automation should depend on what was purchased.
For example, a customer who buys Product A should not accidentally receive onboarding instructions for Product B.
This is where having a GoHighLevel automation specialist can be valuable. Complex accounts often contain multiple workflows, and the purchase event needs to trigger the correct path without creating conflicts.
Step 18: Stop the Promotional Workflow After Purchase
If a prospect has been receiving emails encouraging them to purchase the main product, the purchase should normally move them out of that promotional sequence.
Continuing to send “buy now” messages after someone has already purchased creates an obvious disconnect.
Set the purchase event as an appropriate workflow exit condition.
Then move the customer into a post-purchase journey.
A hire GoHighLevel expert engagement can include auditing these exit conditions across existing workflows to identify customers who may currently be receiving inappropriate messaging.
Step 19: Create an Abandoned Checkout Workflow
Some visitors will reach the order form without completing payment.
You can create a separate workflow for these contacts.
The follow-up should remind them about the original offer and make it easy to return to the checkout.
Avoid assuming that every abandonment means the prospect lost interest. Technical problems, distractions, payment issues, or timing can all contribute.
A simple reminder can sometimes recover an otherwise lost transaction.
Step 20: Connect Customer Onboarding
The customer’s journey should continue after payment.
Determine what the buyer needs next.
They may need to schedule a call, complete an intake form, create an account, download resources, or provide information required to begin the service.
Use automation for predictable steps, but keep important human interactions where they provide meaningful value.
This makes the funnel more than a payment system. It becomes part of the complete customer experience.
Step 21: Add Internal Team Notifications
Some actions should trigger internal processes rather than customer-facing messages.
For example, a high-value purchase could notify a sales or fulfillment team. A consulting purchase could create an onboarding task. A service purchase could alert an account manager.
These notifications reduce the risk of important transactions being overlooked.
If you hire GoHighLevel consultant support, make sure internal notification logic is included in the workflow documentation so your team knows what should happen after every important event.
Step 22: Test the Main Purchase
Before launching the funnel, perform a complete test purchase.
Check the order form, payment processing, confirmation page, product assignment, customer record, workflow triggers, emails, and internal notifications.
Verify that the customer is charged the correct amount.
Also confirm that the correct product is associated with the transaction.
Do not assume that a page preview proves the entire system works.
The actual transaction path needs to be tested.
Step 23: Test the Upsell Acceptance Path
Run another test where the customer accepts the upsell.
Confirm that the additional purchase is processed correctly and that the appropriate automation begins.
Check whether the customer receives the correct confirmation and whether the CRM records both transactions appropriately.
If multiple products are involved, confirm that the system does not accidentally overwrite important customer information.
A GoHighLevel expert team can help conduct these tests when the funnel contains complicated conditional logic.
Step 24: Test the Decline and Downsell Paths
Now repeat the process but decline the upsell.
Check whether the customer reaches the correct page.
If you have a downsell, verify that it appears under the intended conditions.
Then test declining the downsell as well.
The customer should ultimately reach the correct confirmation or onboarding stage regardless of which additional offers they accept or reject.
This type of testing is especially important before sending paid traffic to the funnel.
Step 25: Test Mobile Checkout
Open the entire funnel on mobile devices.
Check the sales page, order form, payment fields, upsell, and confirmation page.
Look for difficult-to-use buttons, excessive scrolling, tiny text, broken layouts, or fields that are awkward to complete.
A customer should not need to switch to a desktop computer simply to complete a purchase.
Mobile usability should be treated as part of the funnel design rather than a final technical check.
Step 26: Monitor Funnel Conversion Rates
Once the funnel is live, monitor every major stage.
Look at the number of visitors reaching the offer page, the number moving to checkout, completed purchases, upsell views, upsell acceptance, and final revenue.
Each stage can tell you something different.
If many visitors reach checkout but few purchase, investigate checkout friction.
If the primary offer converts but the upsell does not, evaluate the relevance and presentation of the additional offer.
If customers purchase but support requests increase, examine the post-purchase onboarding experience.
Step 27: Optimize One Major Problem at a Time
Avoid changing everything simultaneously.
If you change the headline, price, checkout design, upsell, and email sequence at the same time, it becomes difficult to understand which change affected performance.
Instead, identify the most obvious problem and test a focused improvement.
For example, simplify the order form first. Then monitor the results before making another major change.
A GHL automation specialist can help distinguish between problems caused by funnel design and problems caused by backend automation.
Step 28: Review the Automation Regularly
Funnels often change after launch.
A business may introduce a new product, change its pricing, add a new workflow, or modify its onboarding process.
These changes can create unexpected interactions with existing automation.
Regularly review workflows, triggers, conditions, and exit rules.
If the system has become difficult to understand, it may be time to hire a GoHighLevel expert to perform an automation audit.